Testing OAuth2 Authorization in Postman
In the previous articles on Postman Tutorial, we have covered “Extracting Data From Responses and Chaining Requests”
In this “Testing OAuth2 Authorization In Postman” article, I will be demonstrating how you can implement this concept and get a tight grip over this.
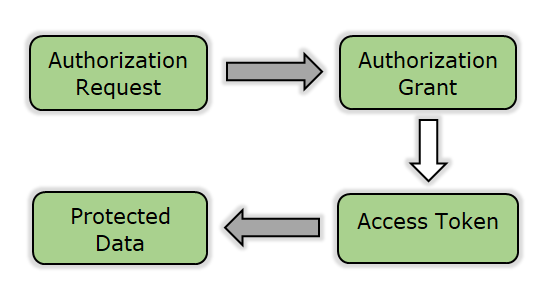
With OAuth 2.0, we first retrieve an access token for the API, then use that token to authenticate the requests. An Access Token is basically used to assure that the user is approved to access the data.
When we hit the secured endpoint without an access token, the Authentication error will occur and 401 Unauthorized status will be returned.
- The application sends an authorization request for the user to access the data.
- Once the application has granted access to the user, the application requests an access token from the server by giving the user details.
- The server then returns an access token.
- The client uses the access token to request the protected data.
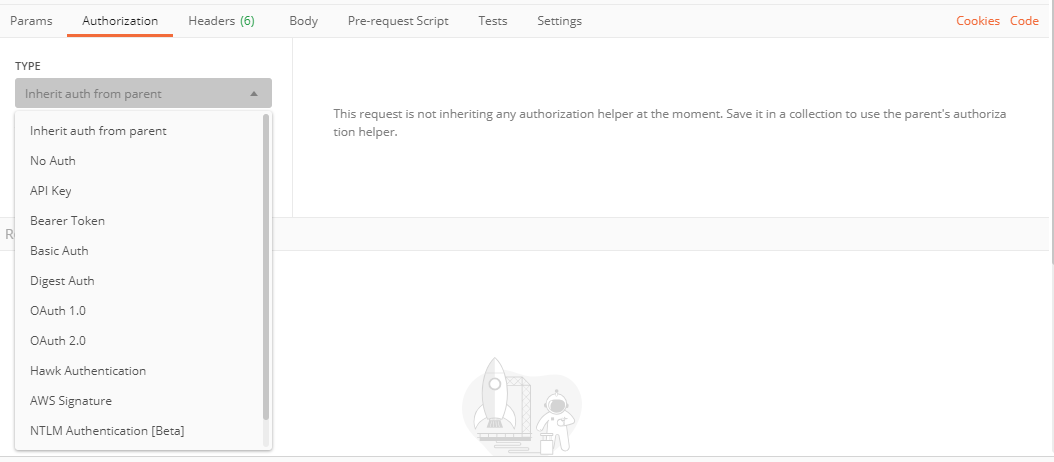
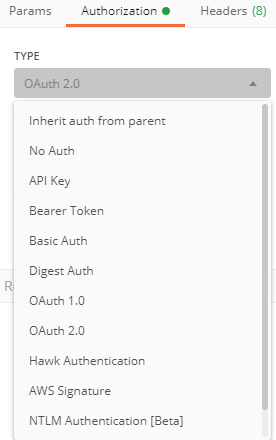
1. Select OAuth 2.0 option from the Type dropdown in the Authorization tab for a request.
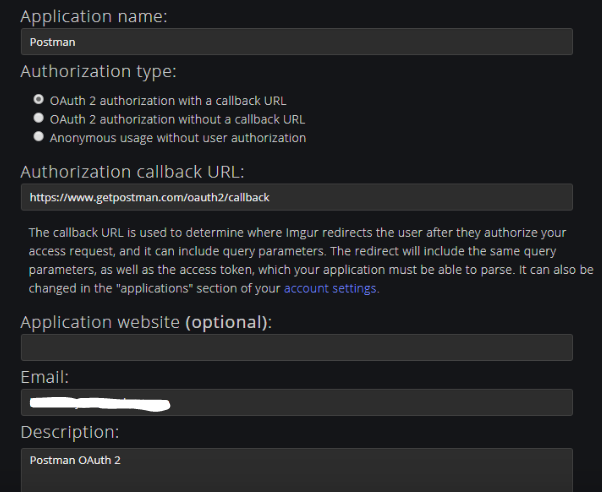
2. Fill up all the credentials required to receive an access token. Let’s take an example of imgur website. https://api.imgur.com/oauth2/addclient
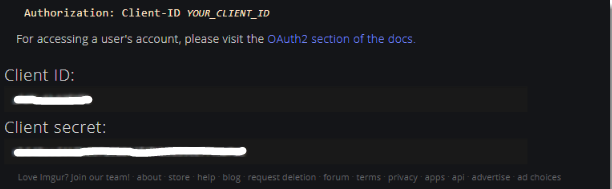
3. We will receive a Client ID and Client Secret.
4. In Postman application, open the Authorization tab.

5. Select OAuth 2.0 Authorization from the TYPE drop-down
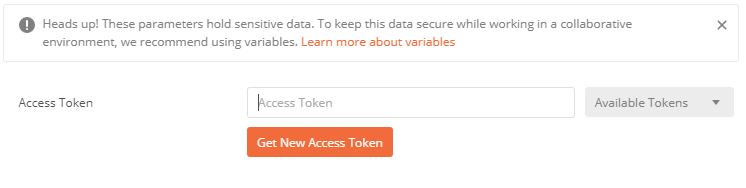
6. Click on Get New Access Token
7. Fill up all the details in the Get New Access Token window
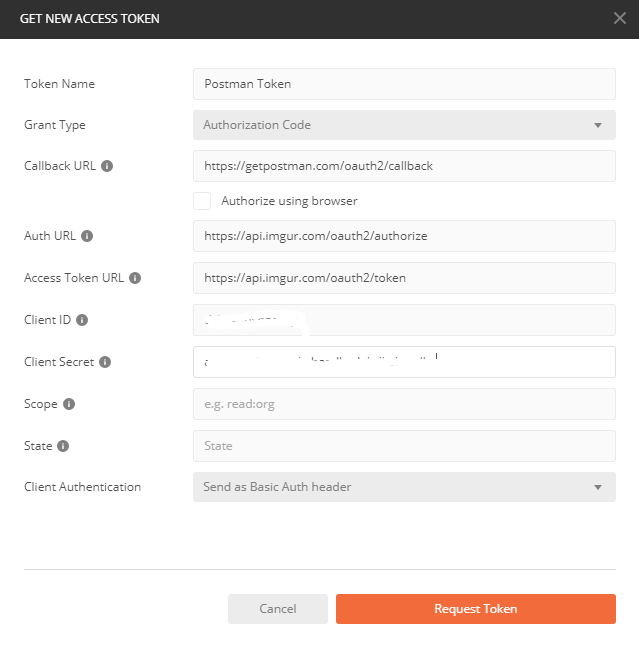
8. Click on the Request Token button. Enter your imgur credentials
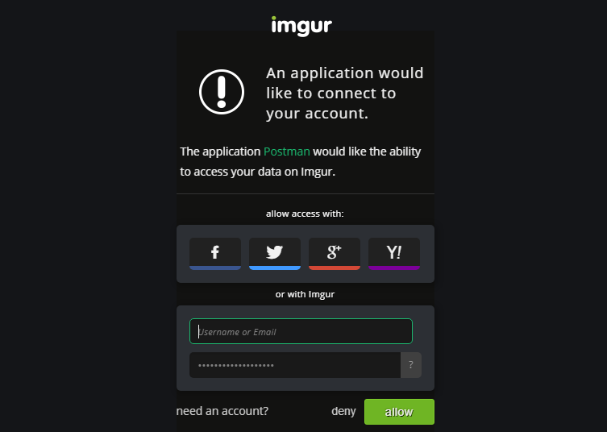
9. Click on the allow button. We will then receive the access token
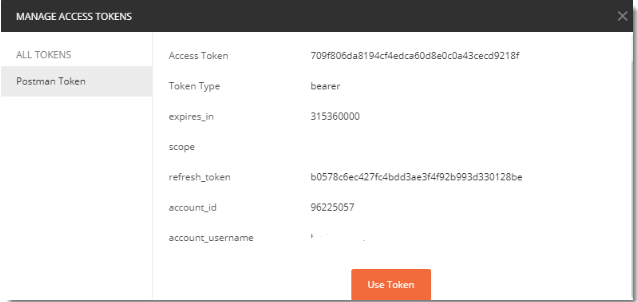
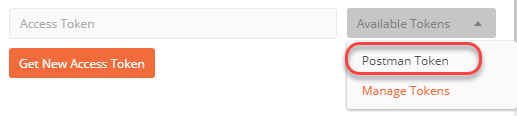
10. Click on Use Token and then select Postman Token from drop-down
11. We now have the Access Token

12. Token value is automatically entered in Headers tab

13. Observe the response after hitting the API. We get the correct status, response, and observed that data is zero which means we have successfully accessed our account information through Postman. Therefore, we are authorized using OAuth 2.0

Next steps:
Learn “How to send JWT Token as header” in the next tutorial.
Related posts: