How To Download And Install Jenkins | Software Testing Material
Earlier, we had learnt How To Install Maven in Eclipse and then we learnt How To Create Maven Project in Eclipse. Today in this post, we are going to see How To Download And Install Jenkins.
Don’t Miss: Selenium Complete Tutorial
How To Download And Install Jenkins
Let’s get started.
Step 1: Download Jenkins
Step 2: Install Jenkins
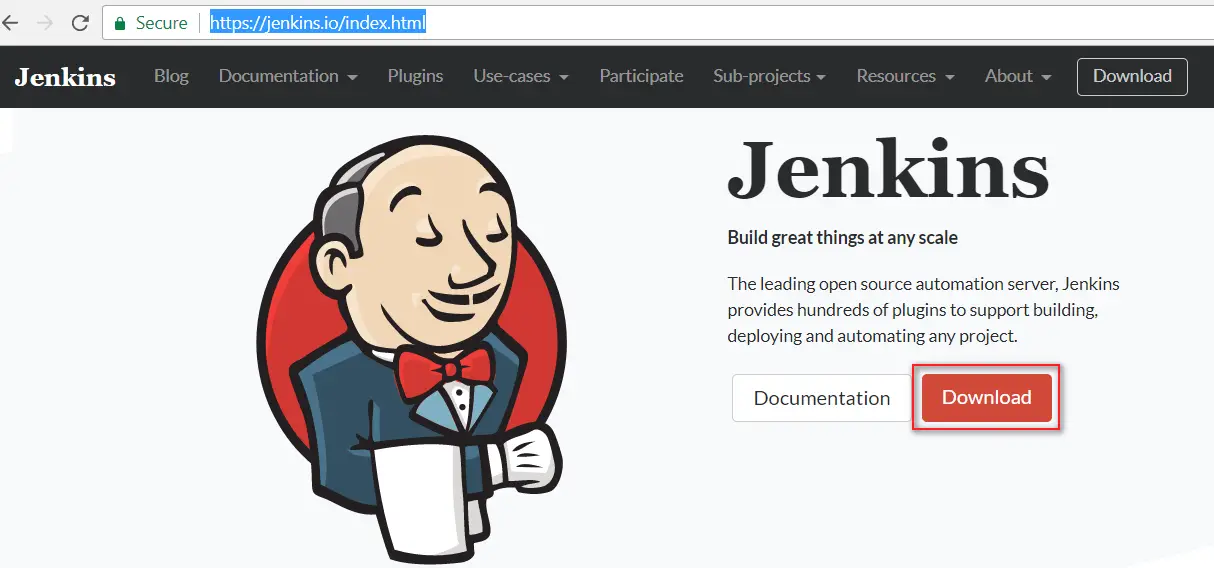
To download Jenkins, Go to ‘https://jenkins.io/index.html‘ and download correct package as per your OS.
I have downloaded Jenkins version 2.60.2
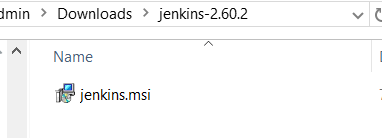
Unzip Jenkins to a specified folder. Right click on ‘jenkins.msi’ file and click on ‘Install’
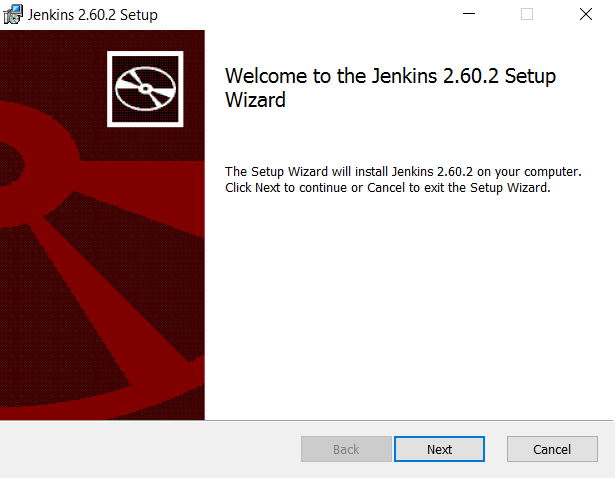
Click on ‘Next‘ button
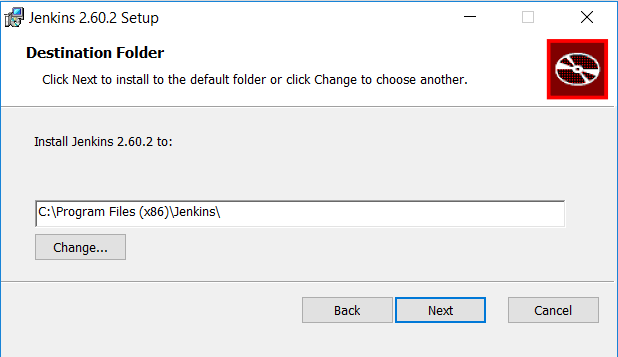
Click on ‘Next‘ button
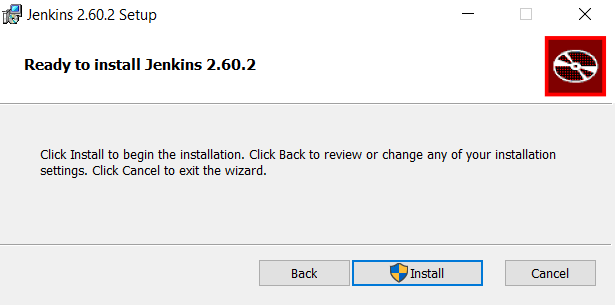
Click on ‘Install‘ button to install Jenkins.
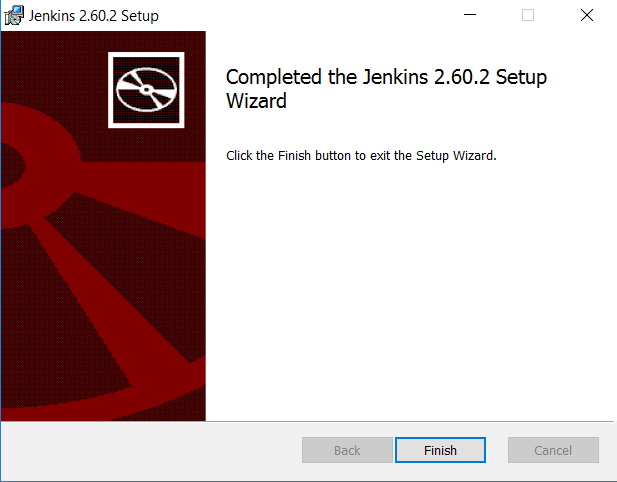
Click on Finish button.
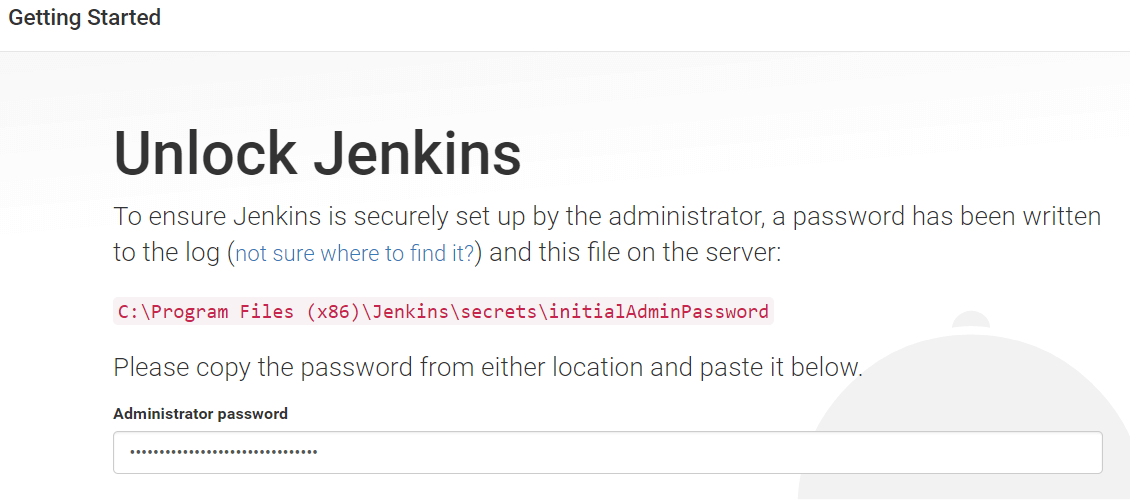
Once the installation is done, navigate to the Jenkins Dashboard (http://localhost:8080 by default) in the browser window.
Copy the password from initialAdminPassword file and paste it. In my case the location is “C:\Program Files (x86)\Jenkins\secrets\initialAdminPassword”
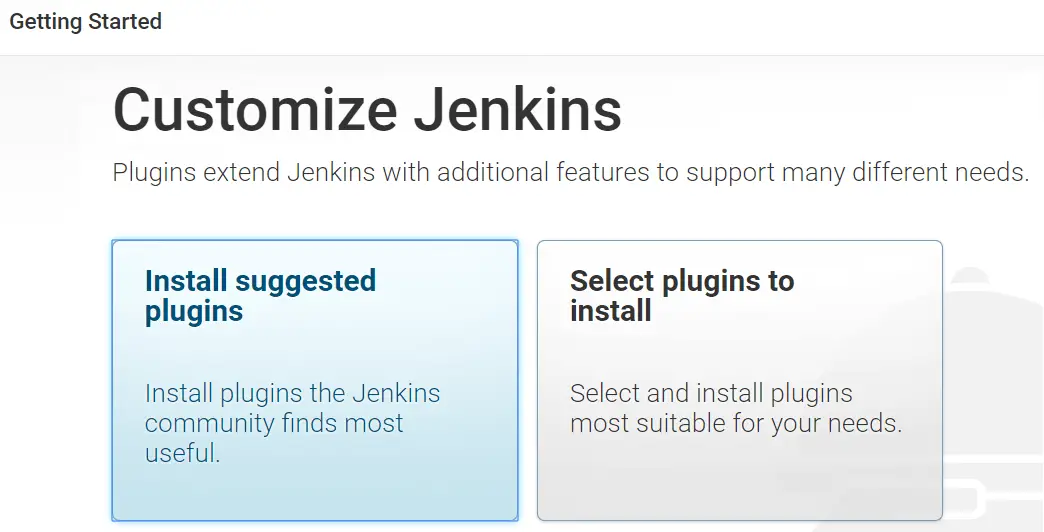
Click on ‘Install Suggested Plugins‘
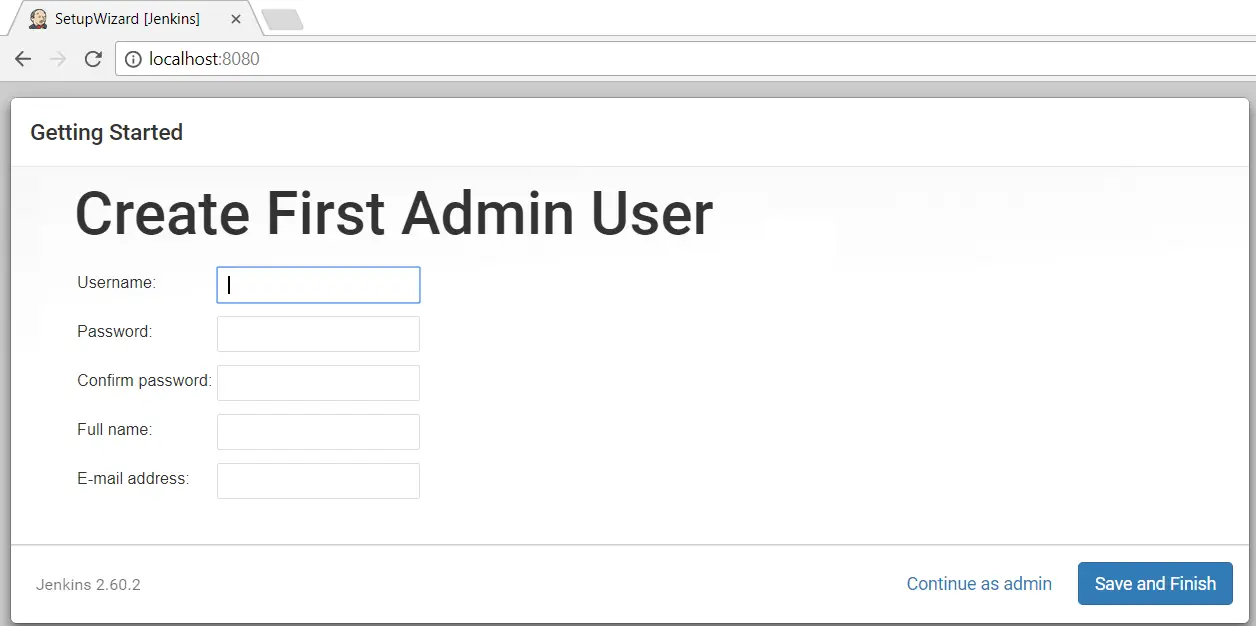
Create an Admin user by giving Username, Password, Full Name and Email Address of your preference.
This way we could Install Jenkins in Windows. In the next post, we see How To Execute TestNG Scripts (using TestNG.xml file) Using Jenkins and How To Execute Maven Project Using Jenkins.



Hi,
Is there any difference between the Jenkins Windows Installer and the Jenkins WAR file. The functionality should be same right ? Or is there any major difference in usage between both the versions ?
Hi Avinash, both work in the same way.
But if you use war file and create some projects and then if you try to install then you will lose all earlier created project. Play safe.
Is it required to configure JDK and Maven for it in global configuration?
Hi Manish Sharma, If its not configured, just do it manually.
Please do video for jenkins and one example how to use for webapplication
Hi Pooja, check our post on continuous integration