How To Generate TestNG Reports | TestNG Tutorial
TestNG Reports:
TestNG Reports come in to the picture once we execute the test cases using TestNG. Once we execute test cases using TestNG, it will generate a default HTML report. Let’s see this process of generating TestNG Reports in detail.
I have created a basic script and mentioned below.
It has three methods namely passTest, failTest and skipTest with @Test annotation.
package softwareTestingMaterial;

import org.testng.Assert;
import org.testng.SkipException;
import org.testng.annotations.Test;

public class DefaultReport {
	//To make it pass
	@Test
	public void passTest(){
		Assert.assertTrue(true);
	}
	//To make it fail
	@Test
	public void failTest(){
		Assert.assertTrue(false);
	}
	//To make it skip
	@Test
	public void skipTest(){
		throw new SkipException("Skipping - This is not ready for testing ");
	}
}
TestNG.xml file
<?xml version="1.0" encoding="UTF-8"?>
<!DOCTYPE suite SYSTEM "http://testng.org/testng-1.0.dtd">
<suite name="softwaretestingmaterial" parallel="methods">
	<test name="testngTest">
		<classes>
			<class name="softwareTestingMaterial.DefaultReport" />
		</classes>
	</test>
</suite>
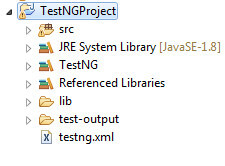
Execute the testng.xml file and refresh the project. You could see your project similar to the below mentioned image.
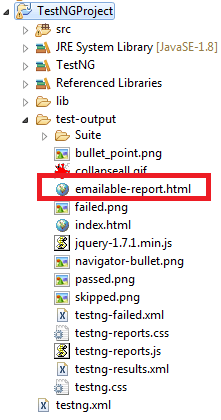
Navigate to ‘test-output’ folder. Now you should find a report ”emailable-report.html‘. This is the default report generated by TestNG.
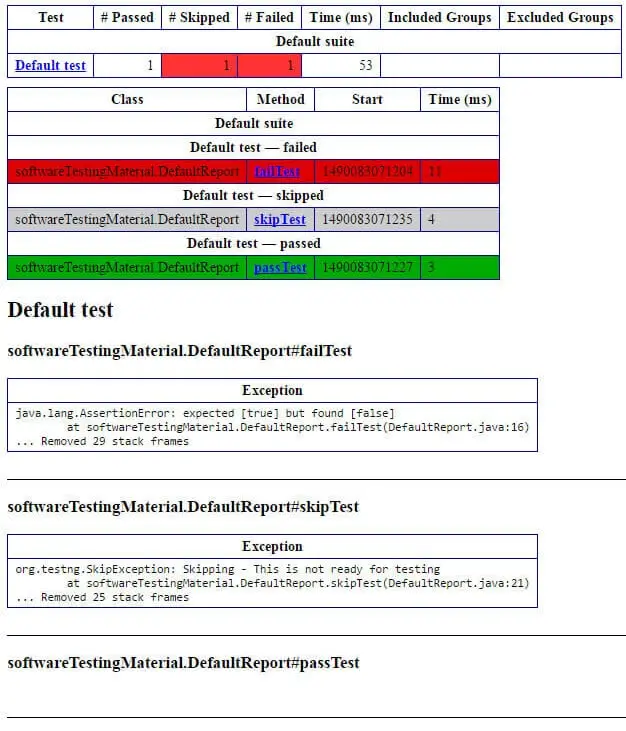
Open emailable -report.html using any browser of your choice. Report will be like as shown below:
You could find the complete TestNG tutorial here.
If you are not regular reader of my blog then I highly recommend you to signup for the free email newsletter using the below link.


