UiPath Tutorial for Beginners | Learn UiPath in 10 Mins
This UiPath Tutorial helps you to learn about UiPath Tool. It is a Robotic Process Automation tool (RPA Tool) that eliminates repetitive tasks by automating them.
You will learn the following
What is UiPath?
UiPath Introduction: In today’s scenario, every industry is moving towards the elimination of repetitive kind of work and get it done by automation, so companies utilizing human skills only where the tasks need manual intervention to improve overall productivity, leads to faster execution, successful and profitable results.
UiPath was developed by Daniel Dines and Marius Tirca in 2005, they are Romanian entrepreneurs
UiPath Installation
Go to the Official UiPath site
We will install the Community version of the UiPath which is absolutely free, and it provides a license for 1 machine. Click on the Try it button and install it on your system
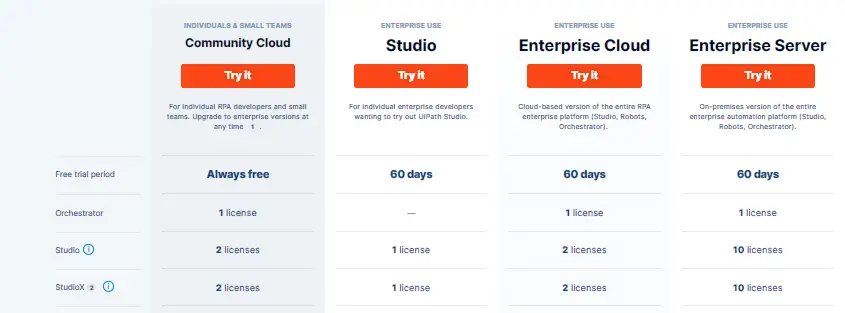
On this page, you need to sign up, using basic information, after successful sign up you would be able to log in and see your dashboard.
Here click on download Studio/StudioX link, present on the top right of the dashboard. It will take hardly 5 minutes to download on your system.
Click on the application exe once it is downloaded, it looks like below
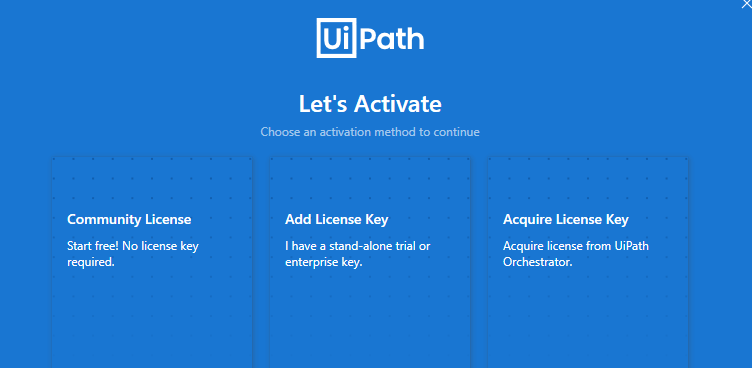
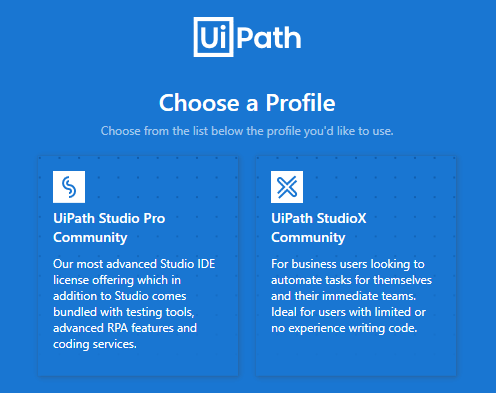
Click on Community Licence, then you need to select user profile, 2 profiles are listed
- UiPath studio Pro Community, and
- UiPath StudioX Community.
Choose UiPath Studio Pro Community Profile.
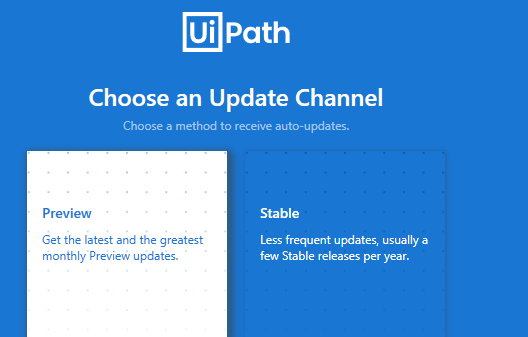
On this screen “Choose an Update Channel”, select Preview
On the next screen, select source control, by default all is selected. Just click on Continue.
UiPath will be installed on your computer, close this dialogue box, and continue with the UiPath User interface.
UiPath User Interface
In UiPath, there are different types of panels that help the user to utilize various functionalities offered by this tool. Just like other Microsoft applications, UiPath has the feature of auto-hide, enable, disable of menu items
The left Ribbon has Open, Close, and other buttons.
By default, projects are created in C:\Users\<current_user>\Documents\UiPath. The “Open a Local Project” searches for project.json files.
New Project: Process
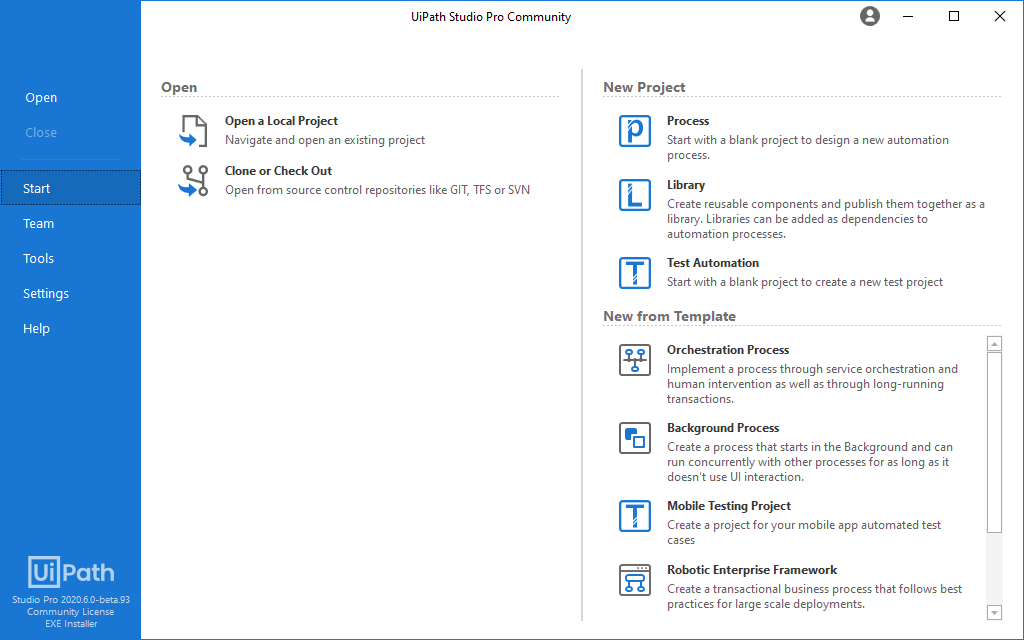
Click on Process, it will open a dialogue for the New blank process, it opens in the Design tab

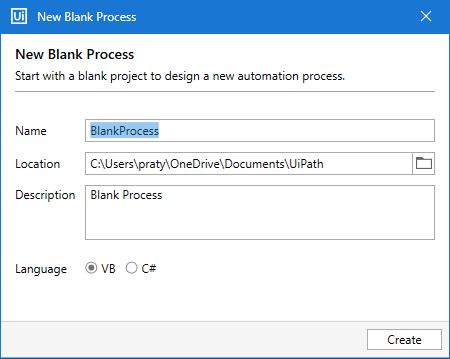
We can see that Process is the accumulation of all activities, which we combine to make an automation logic
Overall Interface of UI Design tab
Top Ribbon

It contains the following buttons
- New- to create New Sequence, Flowchart, State
- Machine and Global handler
- Save – save the file
- Save as Template
- Debug file- to run and debug your file
- Edit buttons
- Manage Packages
- Recording- to record your mouse and
- Keyboard actions
- Screen Scrapping- to scrap the UI.
- Data Scrapping- to scrap the data from UI
- User Events
- UI explorer
- Remove Unused Variables
- Analyze file
- Export to Excel
- Publish
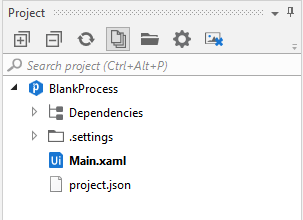
Left Panel
The left panel contains all the data like Dependencies, settings of the created Process, user can expand and collapse it as per the requirement.
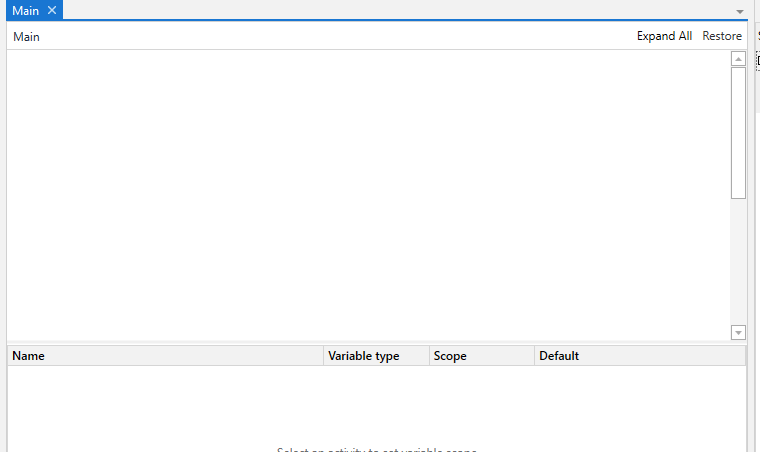
Middle Panel
It is the main area where all the programming is written. Here Variables are defined with its type, its scope, and default value.
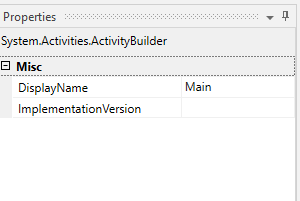
Right Panel
It shows the properties of the program
Important Concepts in UiPath Studio
We have the following two important concepts in UiPath studio:
Activities
The smallest action in UiPath is called activity. For example, clicking on a button, or keypress is an
activity.
Sequence
Sequence refers to the series of activities doing a meaningful task. For example, logging into email
is a sequence in UiPath
Types of Projects
In UiPath, we can create 2 types of projects
- Process,
- Library
Processes include sequences, Flowcharts, Workflows, State machines, and Global exception handlers.
Library acts as support files or dependencies.
Templates:
Following are the templates available as per the different automation needs of an enterprise
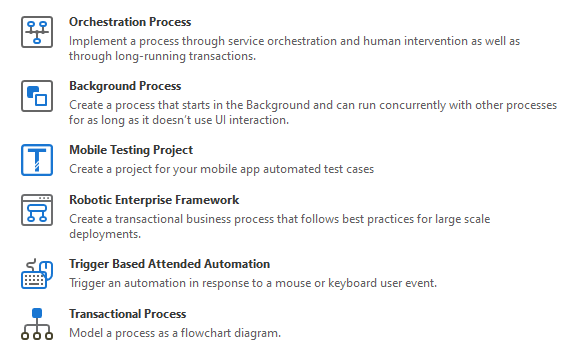
- Process: Allows you to create a blank project and you can start building automation of a process from scratch, it can be the Orchestration process, Background process, and a simple blank process.
- Mobile testing project: To create a project for your mobile app automated test cases
- Robotic Enterprise Framework: It allows you to create automation for business process with best practices for large scale deployments
- Library: we can create libraries that are reusable, it works as dependencies as well for the projects which we create.
- Trigger-based Attended Automation: Allows you to create projects which can trigger automation based on the mouse or keyboard events performed.
- Transactional Process: Allows you to create automation of a process in form of a flow chart.
Create a Basic Process using Recording:
In this tutorial, we will create a basic process
For example
- Open a browser
- Load a web page
- Scrapes information
- Output the scrapped data to a file. Example: To a Notepad file
Example of a Process
1. Launch Studio and click on the Process to create a new project. The default name is BlankProcess. You can change the name as per your requirement
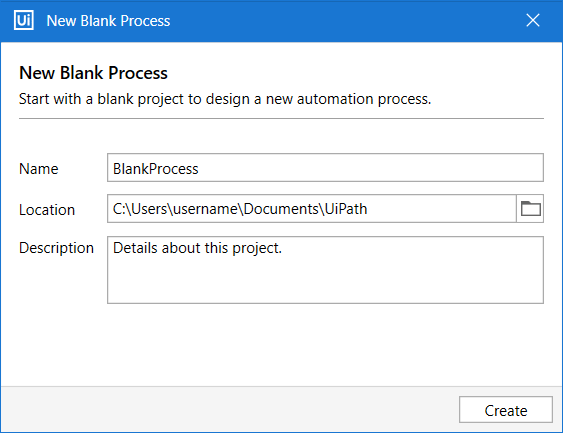
2. Type a name for the new project and a description that summaries what you are aiming to do with this automation project. Pick a location for the new project. The project name will take a maximum of 128 characters, and the Description is limited to only 500 characters.
3. Click on Create. The new project will be opened in the Studio.
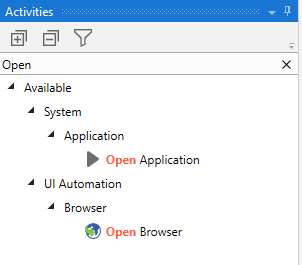
4. In the Activities panel, search for Open Browser and drag it to the Designer panel.
5. Add the “https://www.softwaretestingmaterial.com/” URL in the Open Browser input field. Save the project and run it, The web page will open in Internet Explorer.
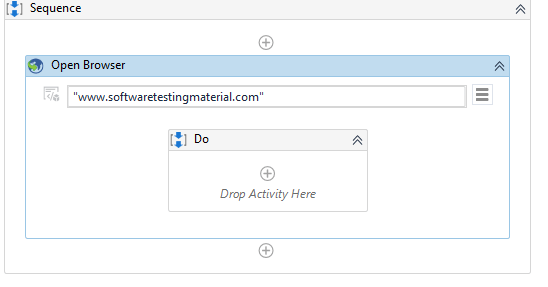
6. From the Activities panel, add a Get Visible Text activity to the Do container of the Open Browser activity.
7. Under browser, click on ‘Indicate Element inside Browser‘. On clicking, it will take you to the browser where your application is opened. Click on any text which you want to scrap.

We are trying to get the text from https://www.softwaretestingmaterial.com home page, the text is “Subscribe to our newsletter“
8. In the Variables panel, create a new string variable called GetText and set its scope to Sequence. The purpose of this variable is to store the scraped information.

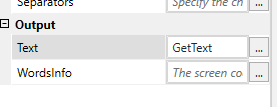
9. In the property panel, see the ‘Get visible text‘ Text property, and insert the variable ‘GetText‘
10. From the Activities panel, drag a Write Line activity. Click on the Input text field, and assign the variable to this ‘GetText‘. This will store the scrapped data to the output panel.
11. Add an Open Application activity to the project. Now click on the notepad application and open it. Maximize the window. Note that all actions are recorded, and the notepad file path is also stored.
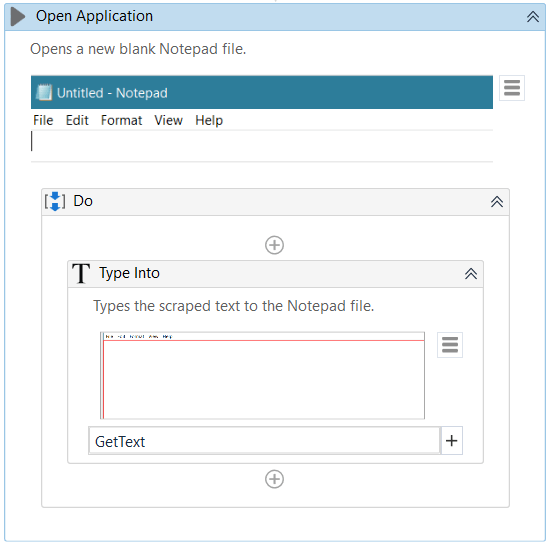
12. Add a Type Into activity in the Open Application activity’s Do container. Click the Indicate element inside the window to select the Notepad window, and add the GetText variable to the input text field.
This activity writes the scraped text to a Notepad window.
13. In the ribbon, click Run File or use the Ctrl + F6 shortcut to execute the project.
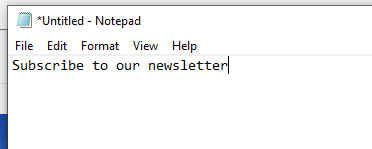
When execution stops, we can see all scrapped data is stored in the Notepad file, just like we copied it from the Web and pasted into a Notepad file.

When you run the process, data is scrapped into a Notepad file like as shown in the screenshot below.
In Conclusion:
We have covered what is UiPath, installation, UiPath interface, how to create a process using UiPath Recording in this post. If you have any questions, please feel free to let us know in the comment section.
Related Posts:

