How to Upload WordPress Plugin Zip Files Using Mac and Safari Browser
Let’s explore how to upload wordpress plugin zip files using Mac and Safari browser.
Installing a plugin in WordPress using a Mac and Safari is simple, but there’s a common hiccup to watch out for.
By default, Safari automatically unzips downloaded files, which can be convenient in most cases but problematic when working with WordPress plugins. To install a plugin, the file must remain in its original zipped format.
Adjusting this Safari setting will help you avoid any issues and ensure a smooth installation process.
How To Add WordPress Plugin In Mac
Follow these simple steps to seamlessly add plugins to your WordPress site:
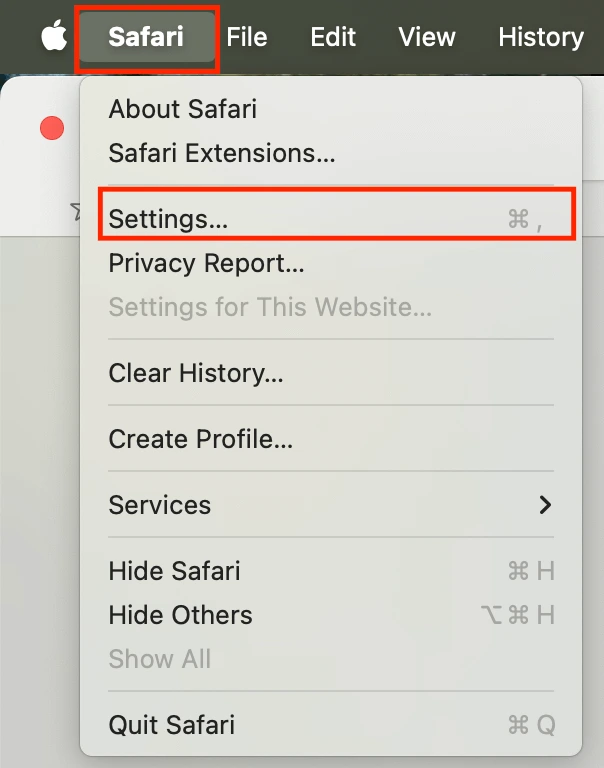
Step 1: Change settings in Safari
Go to Safari > Settings while in the Safari menu.
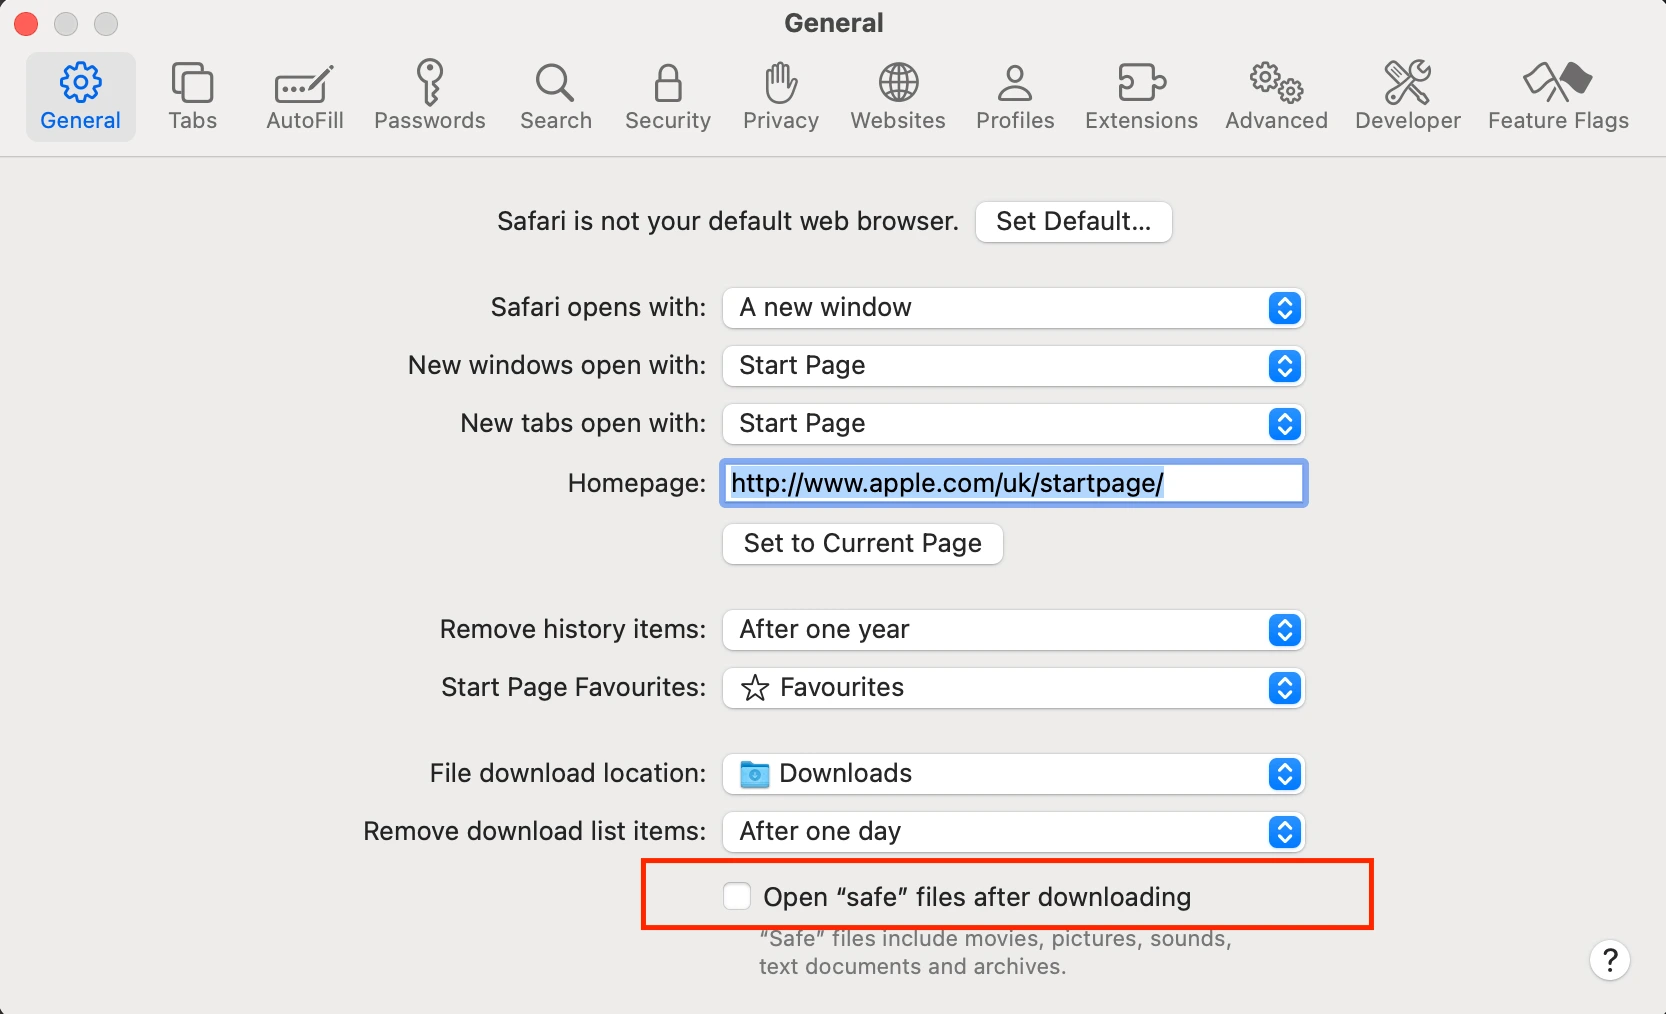
At the bottom of the General tab, locate the option labeled “Open ‘safe’ files after downloading” and uncheck the box to disable it.
Step 2: Download the Plugin File
- You can either download it from the official WordPress plugin repository or from a third-party source.
- Once you locate the plugin, click the “Download” button and save the
.zipfile again to an easily accessible location on your Mac, such as the Downloads folder.
Step 3: Log in to Your WordPress Dashboard
- Open Safari on your Mac.
- Navigate to your WordPress site by visiting
https://yourwebsite.com/wp-admin(replaceyourwebsite.comwith your actual domain). - Enter your admin username and password to log in to the WordPress dashboard.
Step 4: Access the Plugins Section
- From the WordPress admin dashboard, locate and click on Plugins in the left-hand menu.
- Select Add New Plugin, which will take you to the plugin upload page.
Step 5: Upload the Plugin Zip File
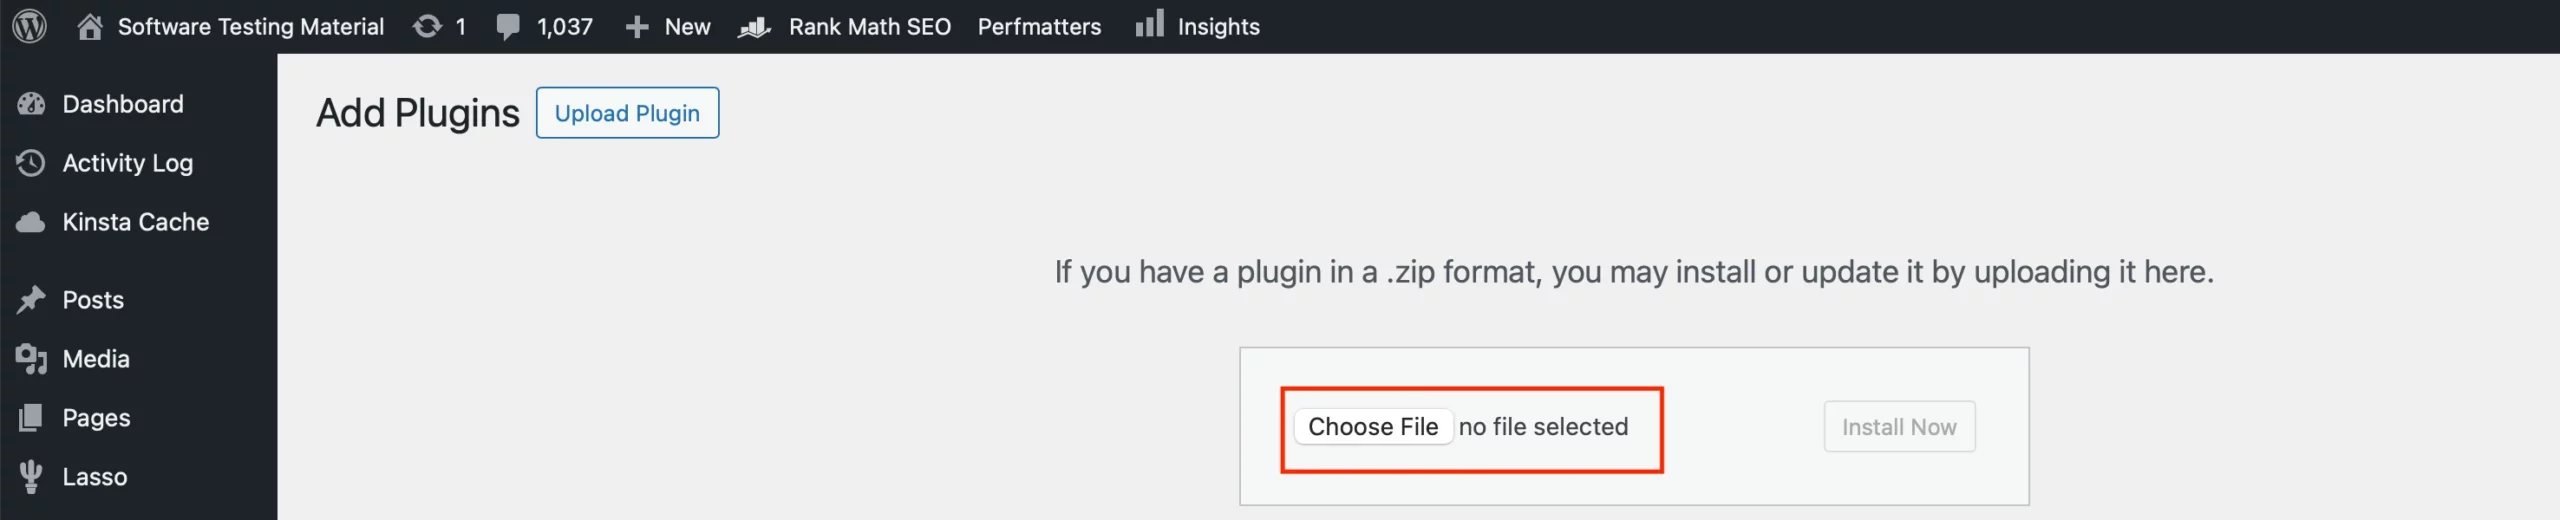
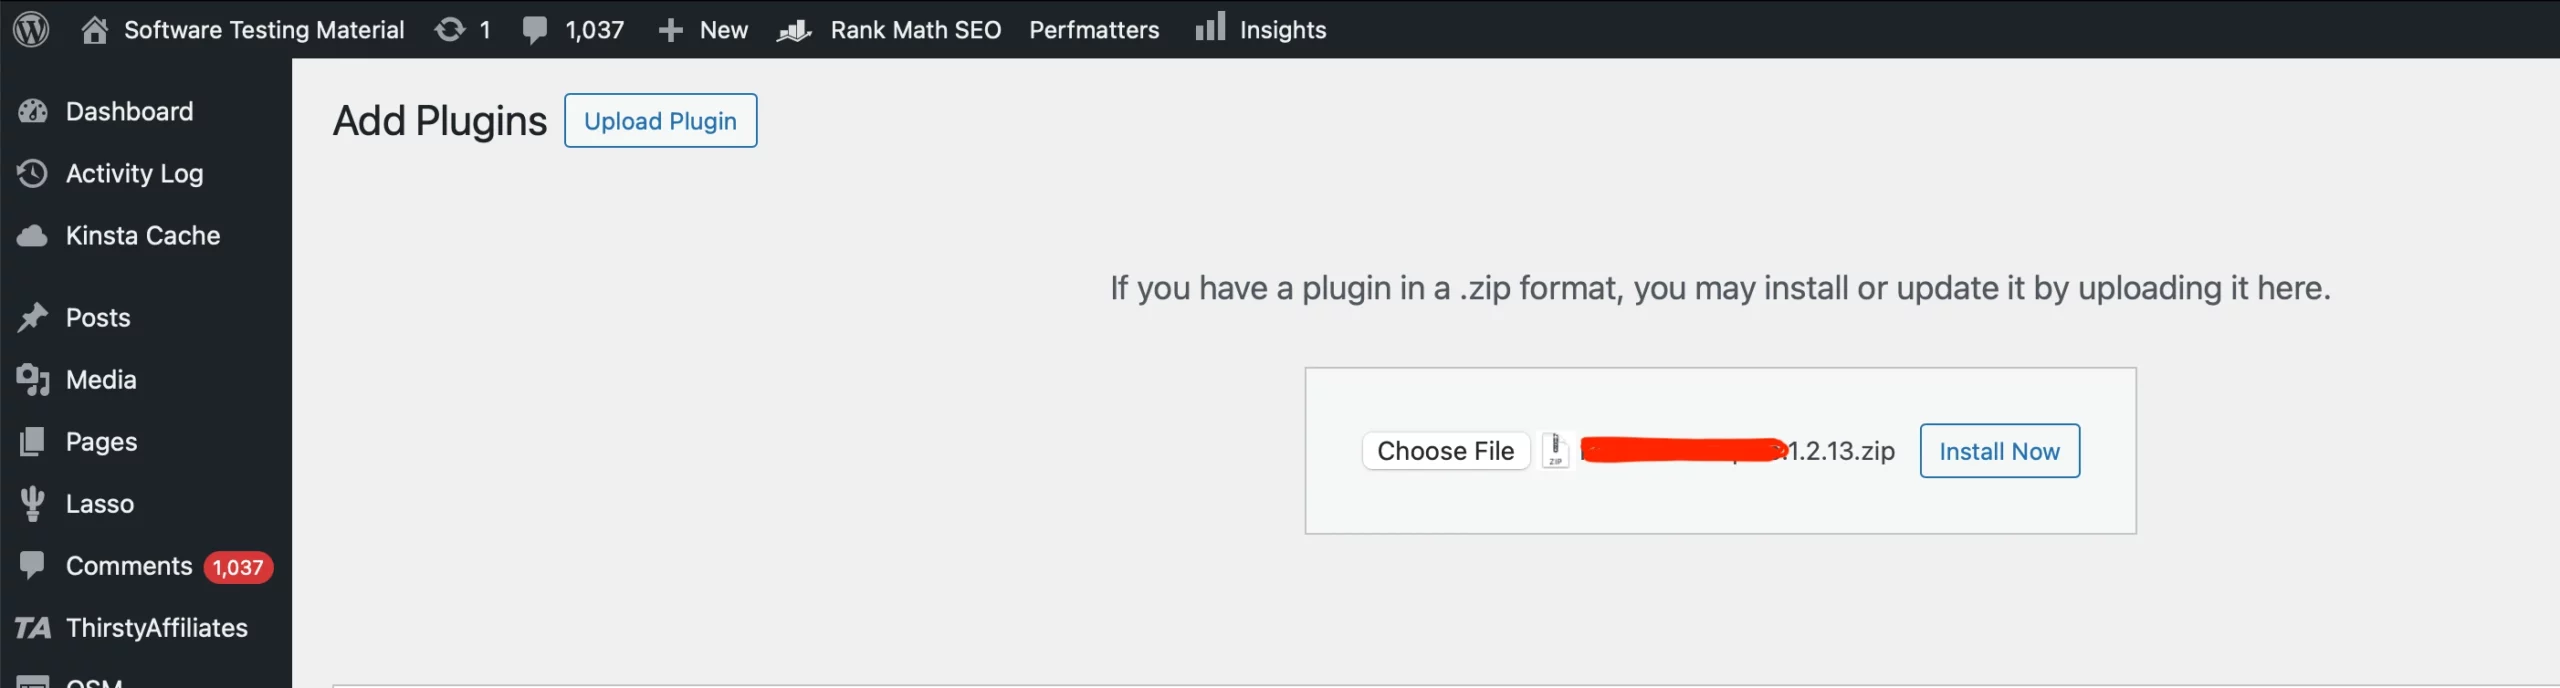
- At the top of the Add Plugins page, click the Upload Plugin button.
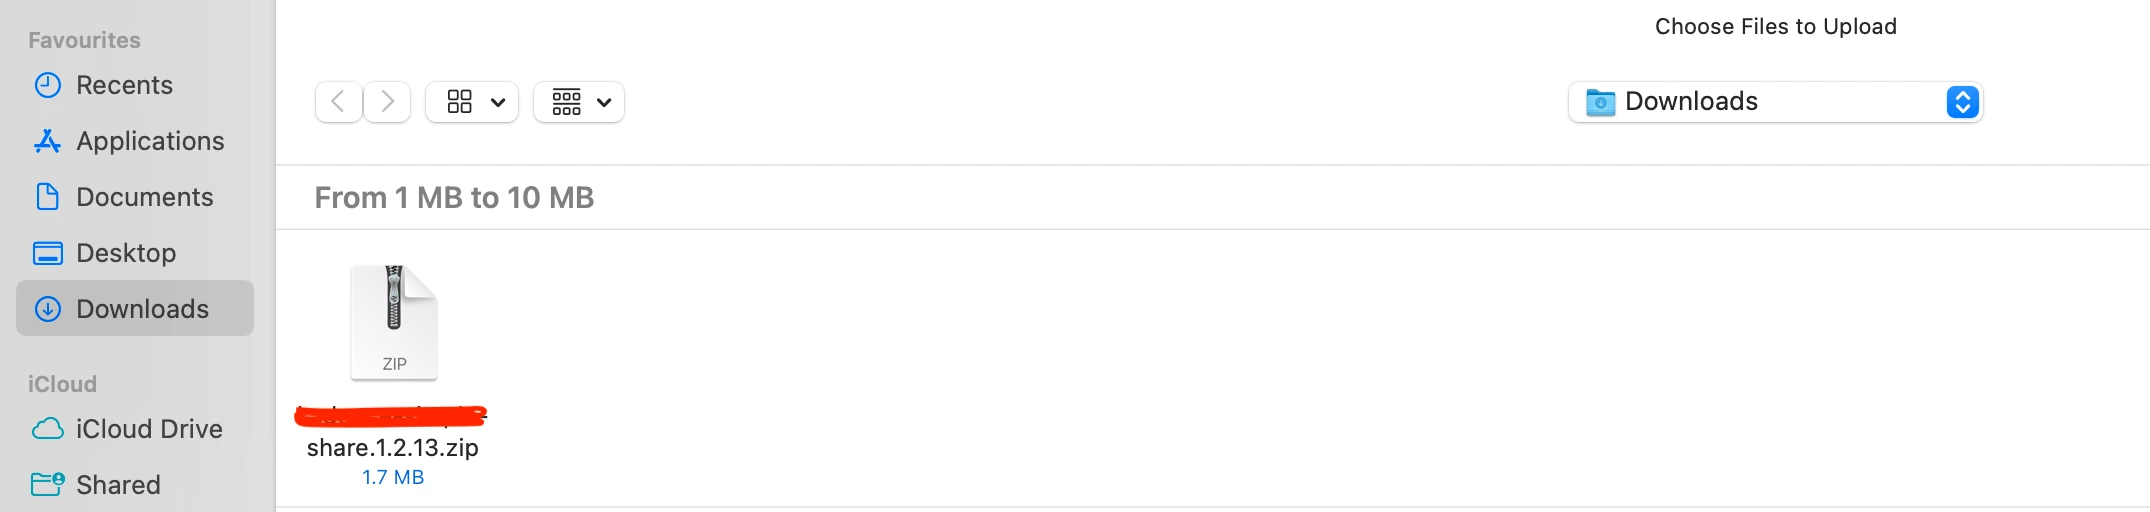
- A file upload interface will appear. Click Choose File, and a Finder window will appear.
- Navigate to the location where you saved the plugin
.zipfile (e.g., Downloads folder), select the file, and click Open.
Go to Wordpress > Plugins > Add New Plugin > Upload Plugin > Choose file
Step 6: Install and Activate the Plugin
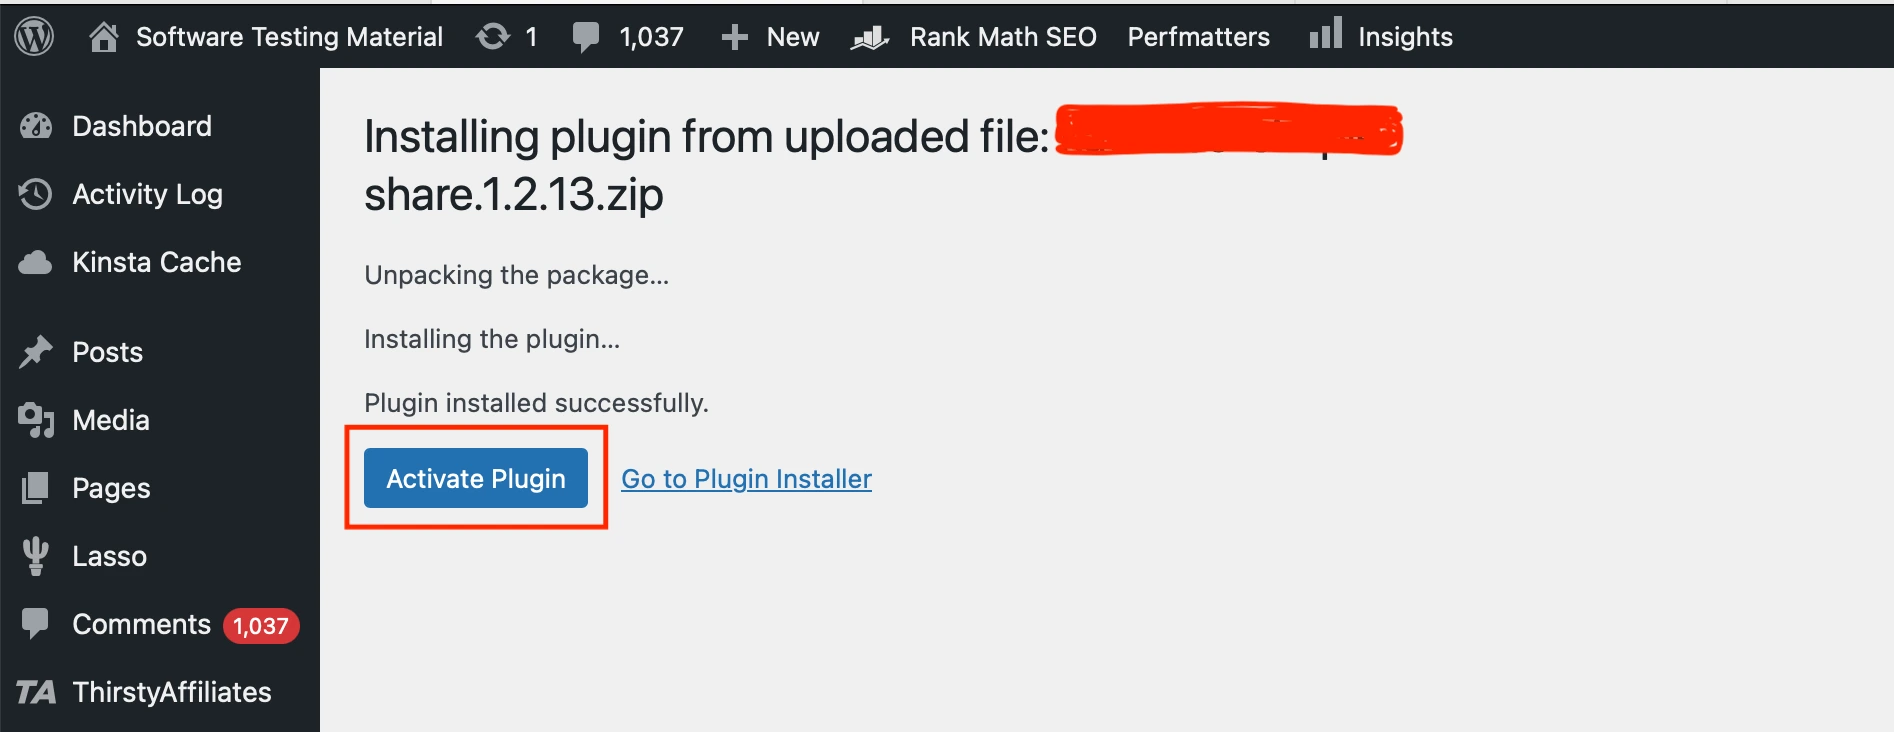
- After selecting the file, click the Install Now button. WordPress will begin uploading and installing the zip file.
- Once the installation is complete, you will see a success message. Click Activate Plugin to enable the plugin and start using it on your site.
Upload the plugin zip file to your WordPress site and click on Install Now button.
Click on Active Plugin button.
Step 7: Test the Plugin
- Go back to the Plugins section of your dashboard.
- Locate the newly installed plugin in the list and ensure it is active. Configure its settings as per your needs.
That’s it! You’ve successfully uploaded and activated a WordPress plugin using a Mac and Safari browser. This process can be repeated anytime you need to add new functionality to your WordPress site through plugins. Happy customizing!