TestNG Introduction | TestNG Tutorial
TestNG Introduction:
Definition of TestNG as per its documentation is as follows:
TestNG is a testing framework designed to simplify a broad range of testing needs, from unit testing to integration testing.
Writing a test is typically a three-step process:
- Write the business logic of your test and insert TestNG annotations in your code.
- Add the information about your test (e.g. the class name, the groups you wish to run, etc…) in a testng.xml file or in build.xml.
- Run TestNG.xml.
Later in this tutorial, we will discuss about TestNG Annotations, testng.xml.
TestNG is a framework for Java, so the very first requirement is to have JDK installed in your machine.
Verify Java Installation in your system
c:\> java -version
Output:
java version "1.8.0_101"
Java(TM) SE Runtime Environment (build 1.8.0_101-b13)
Java HotSpot(TM) 64-Bit Server VM (build 25.101-b13, mixed mode)
Set Java Environment:
Set the JAVA_HOME environment variable to point to the base directory location, where Java is installed on your machine. For example,
Set the environment variable JAVA_HOME to C:\Program Files\Java\jdk1.8.0_101
Append the string C:\Program Files\Java\jdk1.8.0_101\bin at the end of the system variable, ‘Path‘.
Setup TestNG:
Click on this link to read How to setup TestNG
Click the below Video on How to Install TestNG
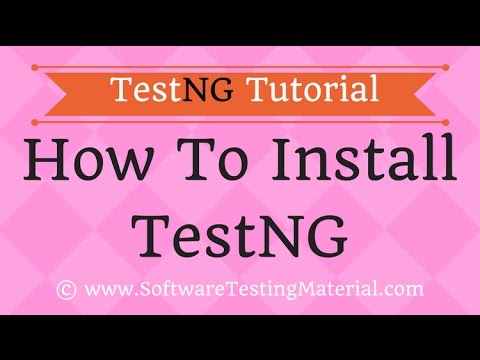
Please be patient. The video will load in some time.
Click on this link to read How to run TestNG test using CMD
TestNG can be invoked in three different ways:
- Using command prompt
- Using testng.xml file
- Using ANT
Click here to read How to create testng.xml file manually
Click the below Video on How to create testng.xml file
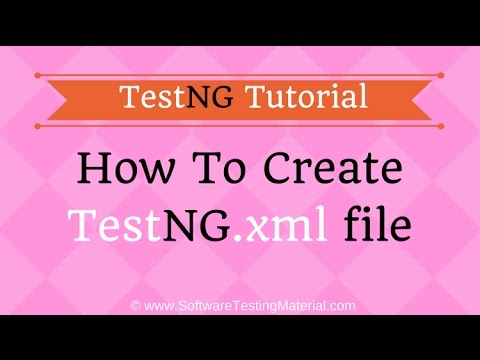
Please be patient. The video will load in some time.
You could find the complete TestNG tutorial here.
If you are not regular reader of my blog then I highly recommend you to signup for the free email newsletter using the below link.