How to Set Up Protractor (Protractor Installation)
Let’s see how to install Protractor. To setup Protractor, we need to follow the following steps.
- Install Node.js
- Install Protractor
- Update WebDriver Manager to the latest version
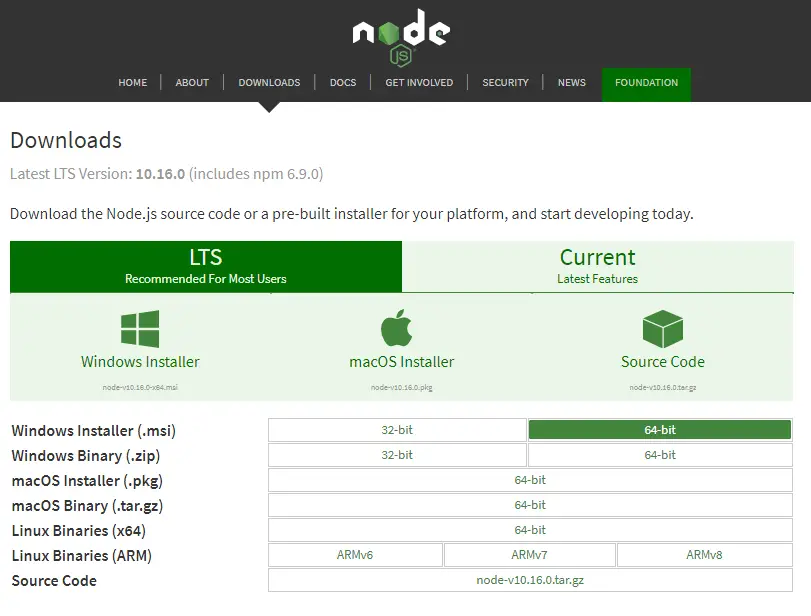
Step 1 – Download & Install Node.js
Download and install node.js. Just follow installation guidelines and that is it.
https://nodejs.org/en/download/
Once the file is downloaded, open the downloaded file to start installing Node.JS
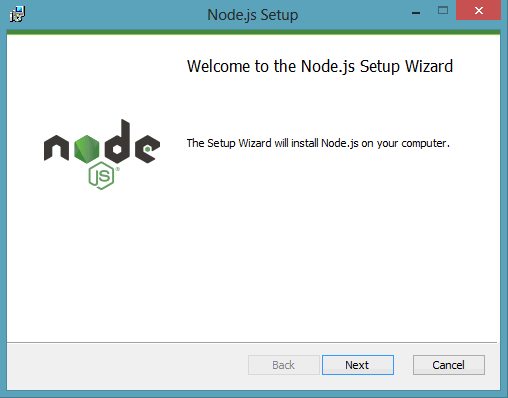
To run the installer, click Next
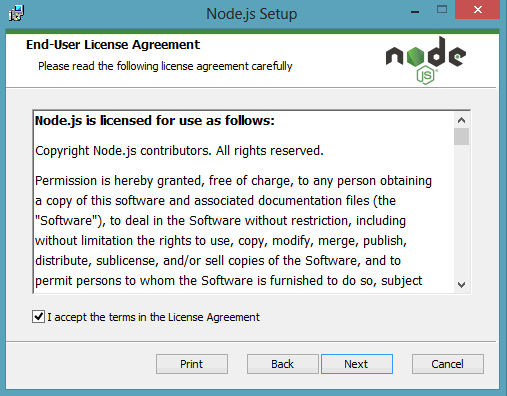
Select the check box to “I accept the terms in the License Agreement” and click on Next to proceed.

You can choose the path where you want Node.js to install in your system. Better to leave it the default path and click on Next.
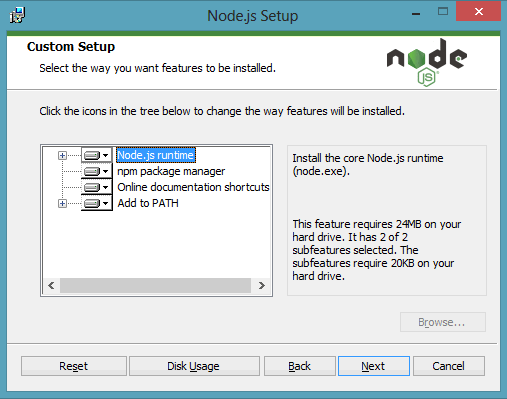
I recommend, leave as it is and click on Next. (You can change these settings, based on your requirement)
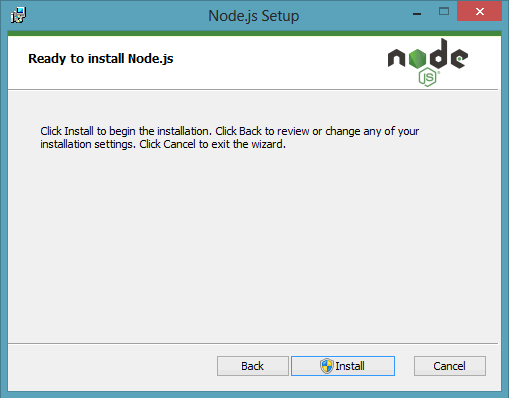
Click on Install to start the main installation.
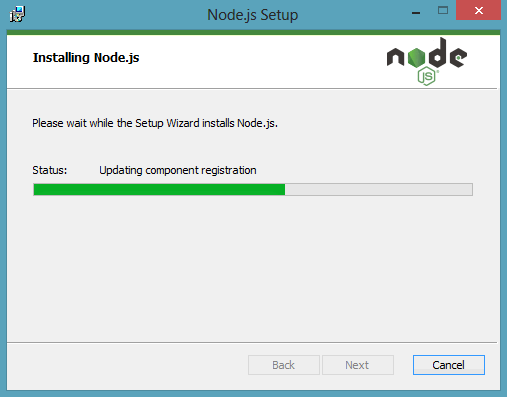
Let the installation finish
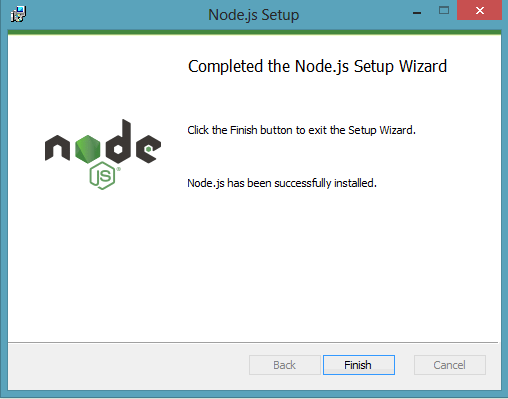
Click Finish on the above dialog. This will complete Node.js installation process.
Node.js should set environment variables required without your help. So to verify the installation, just type “node –v” and “npm –v” in Command Prompt should give you current versions of node.js and
NPM:
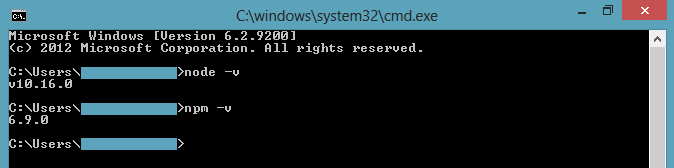
In case of installation errors, you may need to set it by yourself and point it to the installation folder, for example, “C:\Program Files\nodejs\“ (without quotes).
Step 2 – Install Protractor
We have installed Node.js in the Step 1. With node.js, we get Protractor npm package. So, now we can install protractor (also any Node.js packages) using node commands.
Let’s install Protractor using simple node install command
Open command prompt and type npm install –g protractor to install it globally.
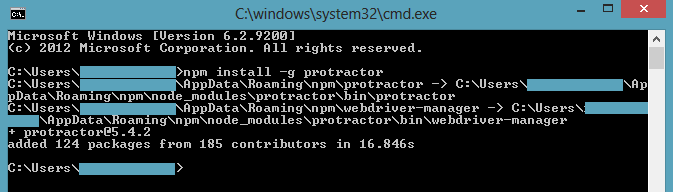
Here, we used ‘-g’ to install protractor globally to run protractor from anywhere in the system. You can remove this if you wish not to install it globally.
The above command will download the necessary files and install Protractor in your system. It also installed Webdriver-Manager.
Once installation is done, use the following command to verify the version of Protractor.
protractor –version
If it is successful then it will show the version of protractor.
Note: There is a double hyphen without any space before version in the above command.

Step 3 – Update Webdriver Manager
Webdriver manager is used to run the tests against the angular web applications. Let us check the status of webdriver manager by using the below command.
webdriver-manager status

With Protractor installation, webdriver manager is also installed but it’s an empty package. So, we have to update the webdriver manager to the latest version.
This can be done by running the following command in the command prompt.
webdriver-manager update
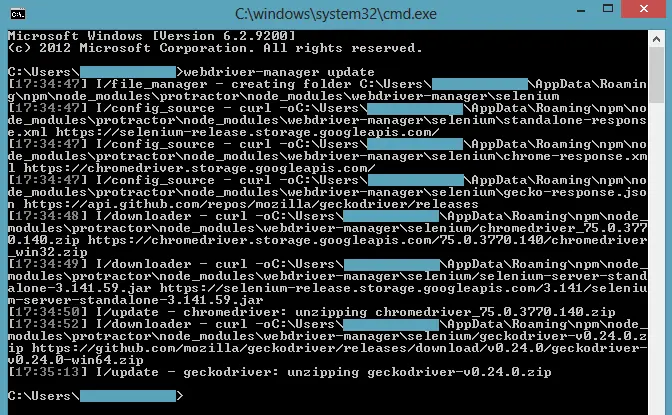
By running the above command, webdriver manager first downloading Jars & Executables (Selenium Standalone Server, ChromeDriver, & GheckoDriver) and then updating them to the latest version.
webdriver-manager status
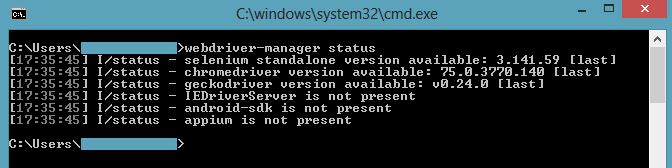
Now we can observe that the Selenium Standalone Server, ChromeDriver, & GheckDriver are updated.
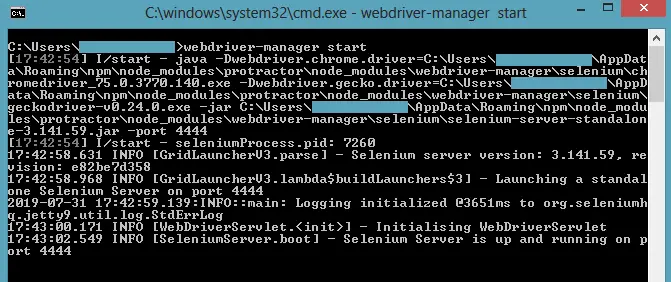
Now start the web driver manager. To start the webdriver manager, run the below command.
webdriver-manager start
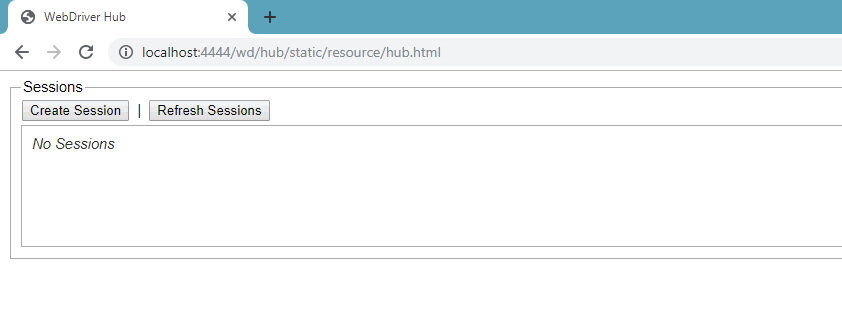
Now, if you navigate to the following URL, you will see the webdriver manager running in the background.
http://localhost:4444/wd/hub/static/resource/hub.html
Must read:

![Protractor Interview Questions | Software Testing Material [Updated 2024]](https://www.softwaretestingmaterial.com/wp-content/uploads/2018/11/Protractor-Interview-Questions-768x432.png)
